
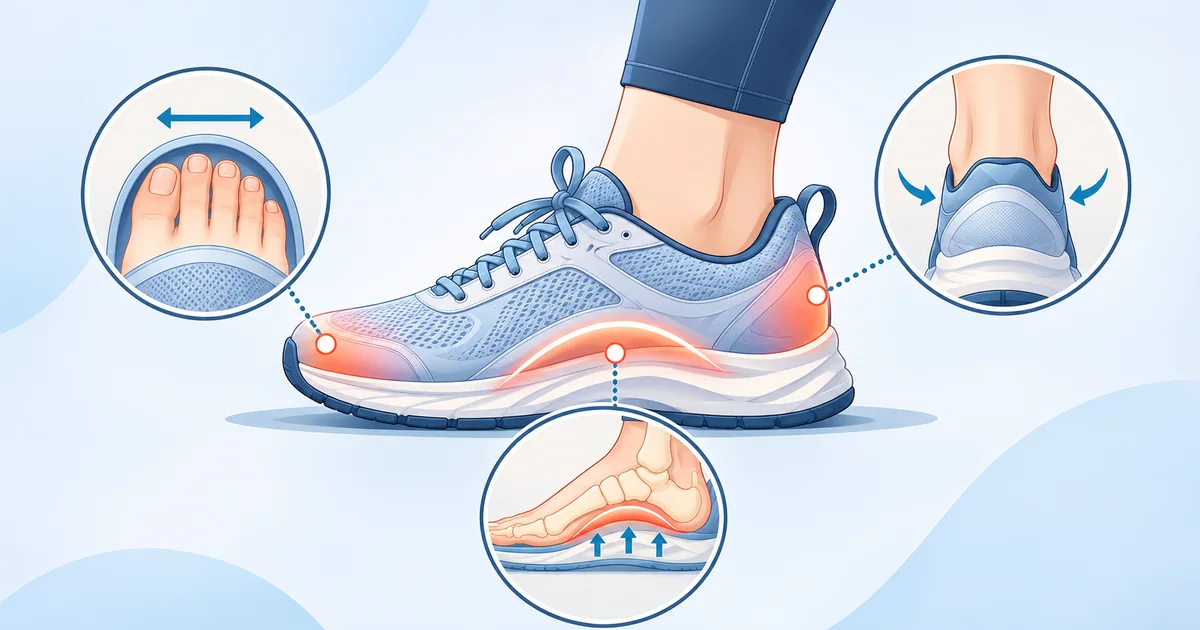
1. Check length while standing
Feel for the end of your longest toe, which may be your second toe. Leave roughly a thumb’s width in front as a starting point. Walk around and check your toes don’t hit the front when you stop or turn.
2. Check width across the forefoot
Your toes should have room to move without the upper squeezing the joints on either side. Fit to the larger foot if your feet differ. If the length feels right but the sides pinch, try a wider shape in the same length.
3. Make room above the toes
Check that the tops of your toes don’t rub on seams or overlays. If you use orthotics, try them in the shoe as you intend to wear them. If they’re designed to replace the stock liner, remove the liner for the fitting so you can judge the space you’ll actually have.
4. Check the heel and laces
The heel should feel secure without hard pressure on the back of the foot. Tightening the laces may help with slipping, but check that it doesn’t create pressure or tingling over the top of the foot.
5. Walk or jog before deciding
If the shop allows it, jog briefly in both shoes. Notice any rubbing, slipping or pressure. If you already get the same blisters or nail bruising in several pairs, bring those shoes to an assessment. The wear pattern, fit and point in the run when symptoms start can help narrow down what to change.
Related clinic service Gait and movement assessment.